How Do You Prepare for Dryer Vent Cover Replacement in Ann Arbor?
By Ann Arbor Dryer Vent Cleaning 02-09-2025 82
When you live in Ann Arbor, keeping your appliances running smoothly isn’t just about convenience—it’s about safety, too. One small but mighty part of your laundry setup is the dryer vent cover. It might not be the first thing you think about, but when it gets old, cracked, or clogged, it can cause bigger problems than you’d expect. If you’re thinking about swapping yours out, you might wonder where to start or what you even need. Today, I’ll walk you through the steps to get ready for a Dryer Vent Cover Replacement, sharing my best tips as if we were neighbors chatting over coffee. And if you ever need a hand, Ann Arbor Dryer Vent Cleaning is always nearby!
Why Replace Your Dryer Vent Cover Anyway?
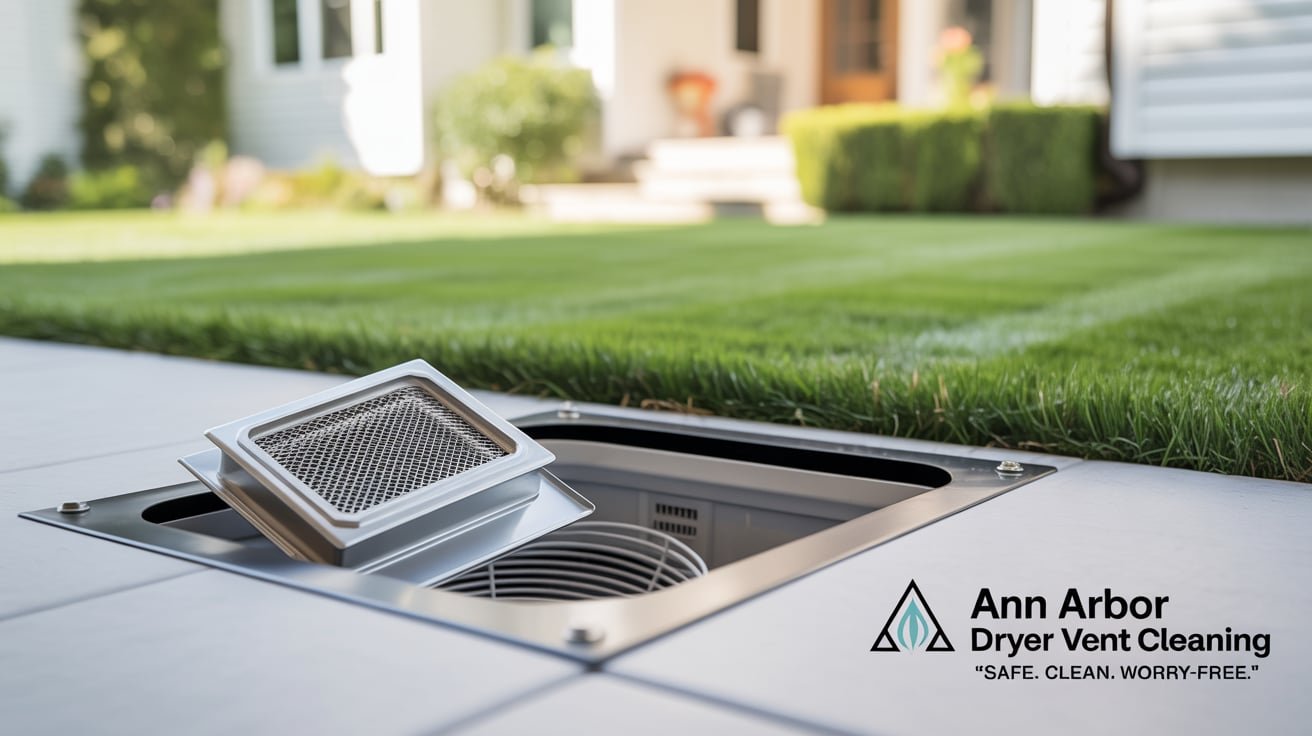
Let’s start with the basics. Your dryer vent cover is the little door or flap on the outside of your house where the hot air from your dryer escapes. Over time, these covers can get brittle from sun exposure, blocked by lint, or even invaded by curious critters. If your vent cover isn’t doing its job, you might end up with moisture in your walls, higher energy bills, or worse—lint buildup that could spark a fire. So, swapping out a worn cover isn’t just a DIY project; it’s an investment in your home’s safety and efficiency.
Gathering Your Tools & Materials
Before you start, you’ll want to collect a few items. Trust me, there’s nothing worse than being halfway through and realizing you’re missing a screwdriver. Here’s a simple checklist to help you gather what you’ll need:
- New dryer vent cover (make sure it matches your old one in size and style)
- Screwdriver (usually a Phillips or flathead will do)
- Caulk or weatherproof sealant
- Utility knife or scraper (for removing old caulk)
- Gloves and a dust mask (dryer vents can get dusty!)
- Small brush or vacuum (to clear out lint)
- Step ladder (if your vent is up high)
Step-by-Step: Getting Ready for the Swap
Now that you’ve got your tools, it’s time to prep the area. Start by unplugging your dryer and moving it away from the wall—don’t skip this step, it’s safer and gives you room to work. Head outside and locate the old vent cover. Clear away any plants or debris so you have space to work. If it’s been a while since you cleaned the vent, now’s a great time to grab your brush or vacuum and clear out any lint hiding inside the duct.
Next up, remove the old cover. Most covers are held on with a few screws—just unscrew them and gently pull the cover off. If there’s caulk or old adhesive around the edges, use your utility knife to slice through it. Take a minute to inspect the vent pipe for any signs of damage or leftover lint. The cleaner and smoother this area is, the better your new cover will fit and seal.
“Taking a little extra time to prep your dryer vent can make all the difference—think of it as a tiny investment in a safer, more efficient home.”
Finally, do a quick dry-fit of your new cover before you attach anything. This helps you spot any surprises, like a vent that’s out of round or slightly too small. Once everything lines up, you’re ready to move on to installation—just follow the instructions that come with your new cover.
Handy Comparison Table
Final Touches & What’s Next?
Once your new vent cover is installed, check that it opens and closes freely. Seal around the edges with a bit of weatherproof caulk to keep drafts and water out. Plug your dryer back in, slide it into place, and give it a test run. Listen for odd noises and peek outside to make sure everything is venting smoothly. If you spot any issues or just want an expert’s opinion, Ann Arbor Dryer Vent Cleaning can help with inspections, cleaning, and yes—emergency replacements.
FAQs About Dryer Vent Cover Replacement in Ann Arbor
Q1: How often should I replace my dryer vent cover?
A: Typically, a good-quality vent cover lasts 5–7 years, but you should check it annually for cracks, stuck flaps, or signs of animal nests. If you spot damage or notice your dryer is working harder, it might be time for a swap.
Q2: Can I replace a dryer vent cover myself, or do I need a pro?
A: Most DIYers can tackle this job in about 30–45 minutes. If the vent is high up or you spot damage to the duct itself, calling a professional like Ann Arbor Dryer Vent Cleaning is a smart move.
Q3: What are signs my current vent cover is failing?
A: Look for cracks, missing flaps, lint buildup, or drafts coming through the vent. If you see any of these, your cover may not be doing its job.
Q4: Does replacing the vent cover help with energy efficiency?
A: Absolutely! A tight-sealing vent cover keeps conditioned air inside, prevents blockages, and helps your dryer work less, saving on energy bills.
Wrapping Up
Replacing your dryer vent cover in Ann Arbor isn’t just another chore—it’s a smart way to care for your home and stay safe. With a little prep, some basic tools, and a careful eye, you can keep your laundry room humming along happily. And if you ever get stuck or need help after hours, Ann Arbor Dryer Vent Cleaning is just a call away for Dryer Vent Cover Replacement that’s done right.