Your front door is not only an entryway but also the main point of the house's curb appeal, a security boundary that is vital, and the energy efficiency that is the most significant factor. Whether you upgrade to a modern smart-lock system or replace that old, cold, and drafty unit, installation calls for the utmost care. Improperly installed doors can lead to air leaks, cause structural damage, and even break the security system.
Here are the basic procedures in a professional-grade garage door installation
to guarantee your house is cozy and safe.
1. Precision Measurement and Choice
Before any tool is even picked up, the most often made blunder in door installation is wrong dimensions. You should measure the "rough opening," the structural frame behind the trim, not just the existing door panel.
Measure at the opening's top, middle, and bottom. Go with the least measurement. Measure from the heading to the subfloor. Squareness: measure the opening by its longest diagonal from one corner to the opposite one. If the resulting two values differ, the opening is out of square. Expert shimming will then be needed to level the door accordingly.
When you get these dimensions, you can decide to buy a pre-hung door (the door already mounted on its frame) or a slab door—the door by itself. Factory-installed weatherstripping and perfectly ordered hinges make pre-hung units the most commonly selected for the majority of entry upgrade projects, as well.
2. Rough Opening Planning
Once you have removed the original door, frame, and exterior trim, the rough opening remains. Old nails, caulking, and rubbish need to be cleared from this area. Checking for "hidden" problems like wood rot or pest damage in the wall studs should be done now as well.
Installing the sill pan is very important in preparation. A flashing element lying beneath the door, a sill pan, serves as a gutter, sending any moisture under the threshold back toward the outside. Your subfloor and joists would eventually decay if not for this.
3. Establishing a Weather-Resistant Seal
Apply high-quality sealant made for outdoor use before the fresh unit is installed. Apply large beads of caulk along the subfloor where the sill will sit and around the opening's borders where the brickmould (exterior trim) will meet the home. This "double-seal" method is the first line of defense against driving rain and drafts.
4. Positioning, Squaring, Shimming
This is the most scientific stage of the project. First, the door unit is tilted into the opening. Once erected, the installer uses a level to make sure the hinge-side jamb is absolutely vertical (plumb).
Since rough openings seldom are flawless, shims (little wedges of composite or wood) are placed between the wall studs and the doorframe. These shims let you "fiddle" with the door's position until it is exactly level.
Pro tip: Always put shims behind the locations of the hinges. This gives strong support to avoid bowing or warping of the framework when long screws are driven into the home's framing across the hinges.
5. Hardware and Anchor Security
It's time to anchor the door permanently once it is swinging without trouble and the edges (the "reveal") are consistent. Most makers advise changing the three-inch screws for at least two tiny screws in the top hinge. Preventing the door from hanging over time and significantly more difficult for a burglar to kick in, these long anchors reach beyond the door frame and deep into the architectural 2x4 studs of the home.
6. Insulation and Finishing Touches
Once the door is closed, the empty space between the wall and the frame must be filled. What is normally used is low-expansion spray foam specifically formulated for doors and windows. This spray foam does not have an expansion power great enough to warp the frame.
Finally, the interior trim is added, and the exterior is caulked again to ensure a seamless and water-tight finish.
Beyond the Front Door: Notes on Whole Entry Security
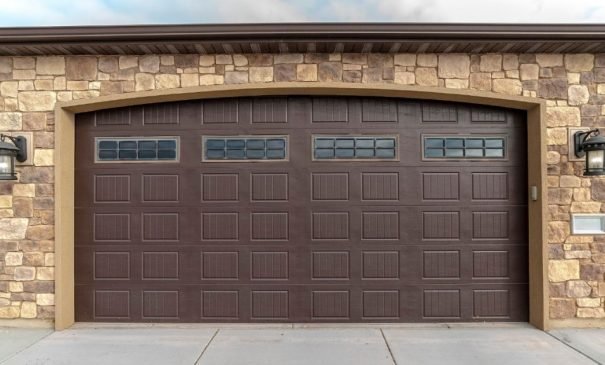
The front door, being the first and foremost entrance to your home, is the prime location, but your safety and energy efficiency are no better than your largest opening. While you lock and barricade your front entrance, you are overlooking the garage, a common cold air entrance, and point for intruders.
Frequently, it is a good idea to align the project of the entryway door with the installation of a professional garage door if you are improving the exterior appearance of the house. Unlike the typical entryway door that a determined do-it-yourself hobbyist might undertake, a garage door contains high-tension springs and heavy motors that require special tools and guidelines.
A professional setup will ensure that:
The system is balanced: "A well-balanced garage door can be raised with the use of just one hand even if the motor is not working."
The sensors for safety are adjusted so that the door opens immediately when a child or a pet encounters the path.
Weather-sealing is airtight: preventing the garage from becoming a "wind tunnel" that chills the rest of the house.
Conclusion
Home front entrance upgrades can be a gratifying home renovation project. By following the steps listed in this essay, including precision shimming and weather sealing, you can ensure decades of performance for a problem-free door on your house, whether you're working on a front porch upgrade or researching a comprehensive garage door installation. The foundation for a safe, attractive home is found in sound techniques and expertise.