How to connect HP printer to wifi is one of the most common questions Windows users ask when setting up a new printer or switching to a wireless network. A WiFi-connected HP printer allows you to print documents without cables, share the printer with multiple devices, and enjoy faster, more flexible printing on Windows 10 and Windows 11 systems. In this detailed guide, you’ll learn step-by-step methods to connect your HP printer to WiFi on Windows 10/11, along with troubleshooting tips to fix common connection issues.
Why Connect Your HP Printer to WiFi on Windows 10/11?
Wireless printing has become a standard feature in homes and offices. Connecting your HP printer to WiFi offers several benefits:
No need for USB cables
Print from multiple Windows devices
Easy integration with laptops and desktops
Supports mobile and cloud printing
Cleaner and more organized workspace
Windows 10 and Windows 11 are fully compatible with modern HP printers, making the setup process smooth when done correctly.
Before You Start: Important Requirements
Before connecting your HP printer to WiFi on Windows 10/11, ensure the following:
A stable WiFi network with correct SSID and password
HP printer with wireless capability
Windows 10 or Windows 11 PC connected to the same WiFi
Printer powered ON and placed near the router
Remove any USB cable connected to the printer (unless instructed)
Meeting these requirements helps avoid setup errors later.
Method 1: Connect HP Printer to WiFi Using HP Smart App (Recommended)
The HP Smart App is the easiest and most reliable way to connect your HP printer to WiFi on Windows 10/11.
Step 1: Download and Install HP Smart App
Open Microsoft Store on your Windows PC
Search for HP Smart
Download and install the app
Step 2: Open HP Smart App
Launch the app after installation
Click Set Up a New Printer or Add Printer
Step 3: Choose Your WiFi Network
Select your wireless network name
Enter the WiFi password carefully
Step 4: Complete Setup
Follow on-screen instructions
Wait for the confirmation message
Once done, your HP printer will be connected to WiFi and ready to print from Windows 10/11.
Method 2: Connect HP Printer to WiFi Using Control Panel (Touchscreen Printers)
If your HP printer has a touchscreen display, you can connect it directly without a computer.
Steps:
Turn on your HP printer
Go to Wireless or Network Settings
Select Wireless Setup Wizard
Choose your WiFi network
Enter the WiFi password
Confirm the connection
After successful setup, add the printer to your Windows 10/11 PC via Settings > Devices > Printers & Scanners.
Method 3: Connect HP Printer to WiFi Using WPS Button
This method works if your router and HP printer both support WPS (Wi-Fi Protected Setup).
Steps:
Press the WPS button on your WiFi router
Within 2 minutes, press and hold the Wireless button on your HP printer
Wait until the wireless light becomes stable
Your printer will automatically connect to the WiFi network without entering a password.
Method 4: Connect HP Printer to WiFi Using USB Setup (Temporary)
If your printer is not detected wirelessly, use a USB cable temporarily.
Steps:
Connect the printer to your Windows PC using a USB cable
Open HP Smart App
Choose Set Up a New Printer
Select your WiFi network and enter password
Remove the USB cable once prompted
This method helps establish the initial wireless connection.
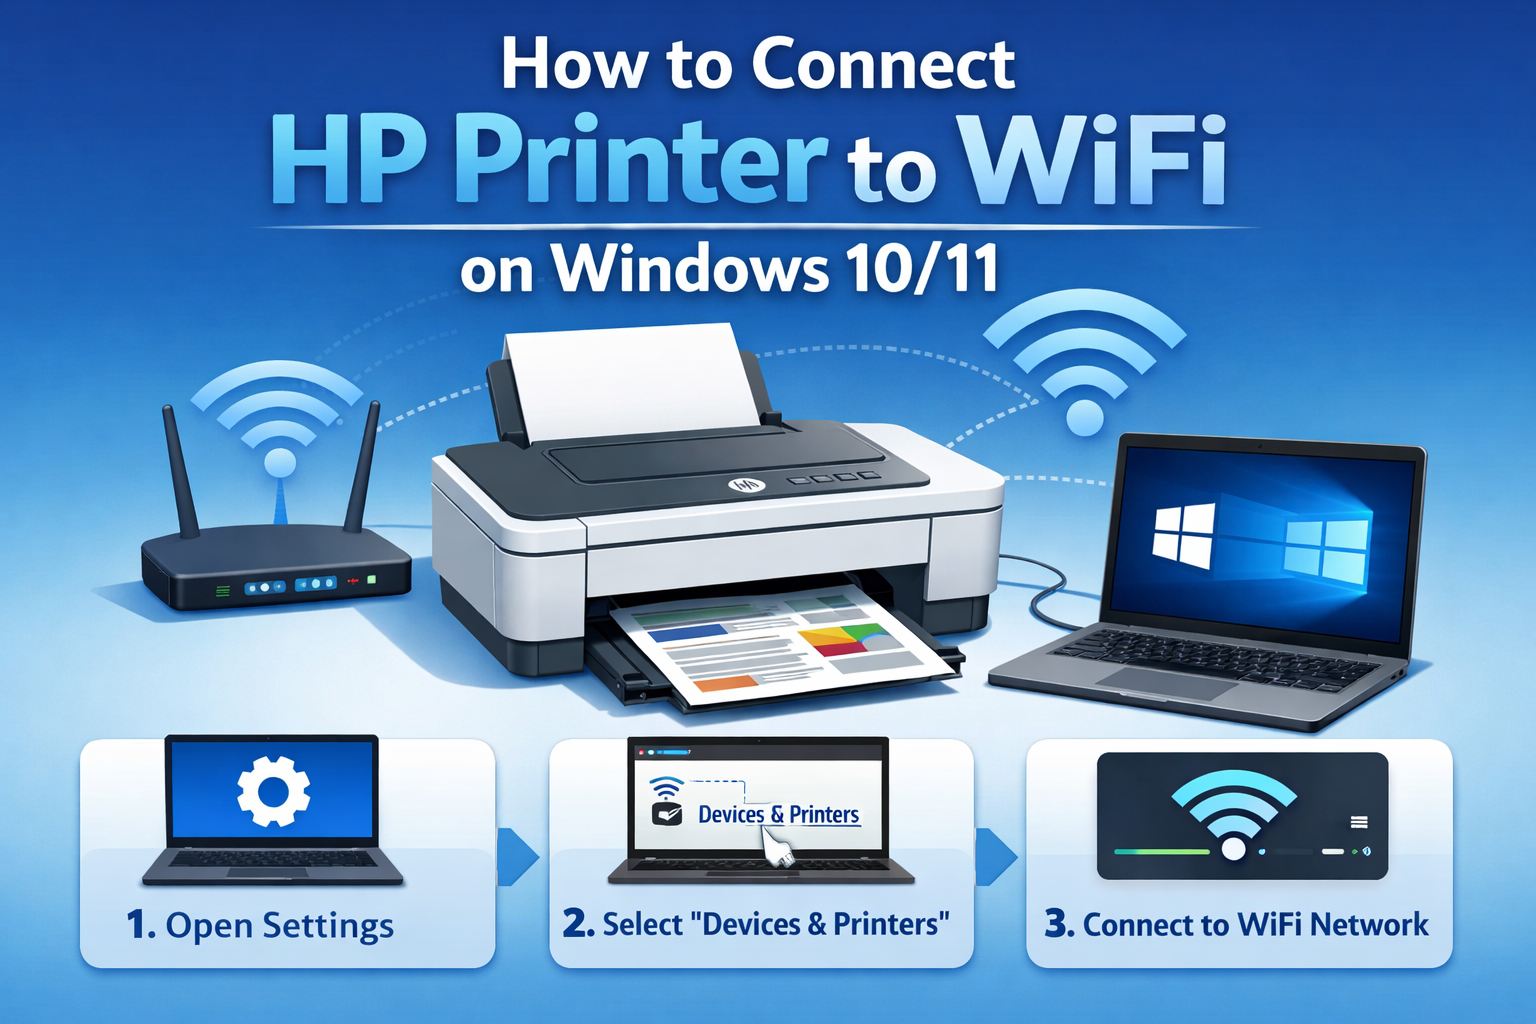
How to Add HP Printer on Windows 10
After connecting the printer to WiFi:
Open Settings
Click Devices
Select Printers & Scanners
Click Add a Printer or Scanner
Choose your HP printer from the list
Windows 10 will automatically install the required drivers.
How to Add HP Printer on Windows 11
Windows 11 follows a similar process:
Open Settings
Go to Bluetooth & Devices
Click Printers & Scanners
Select Add Device
Choose your HP printer
Your printer will be added and ready for wireless printing.
Common Issues While Connecting HP Printer to WiFi
1. Printer Not Found
Ensure printer and PC are on the same WiFi network
Restart printer, router, and PC
2. Incorrect WiFi Password
Re-enter password carefully
Avoid extra spaces or wrong characters
3. Offline Printer Status
Set printer as default
Restart Print Spooler service
4. Weak WiFi Signal
Move printer closer to the router
Avoid network interference
How to Reset Network Settings on HP Printer
If WiFi issues persist, reset network settings:
Press and hold Cancel + Wireless buttons for 5 seconds (varies by model)
Wireless light will blink, indicating reset
Reconnect printer using HP Smart App
This clears old network data and fixes most connectivity problems.
Tips for Stable Wireless Printing on Windows 10/11
Keep printer firmware updated
Use 2.4GHz WiFi if printer doesn’t support 5GHz
Avoid frequent network changes
Assign a static IP to the printer if possible
Following these tips ensures uninterrupted wireless printing.
Benefits of Using HP Smart App on Windows
Easy printer setup
Monitor ink levels
Scan documents wirelessly
Print from anywhere
Automatic driver updates
The HP Smart App enhances overall printer performance on Windows systems.
Final Thoughts
Connect HP printer to wifi from Windows 10/11 is simple when you follow the correct steps and use the recommended tools like the HP Smart App. Wireless printing not only saves time but also improves productivity by allowing seamless printing from multiple devices. Whether you’re setting up a new HP printer or reconnecting an existing one, the methods shared above will help you achieve a stable and secure WiFi connection on Windows 10 or Windows 11 with ease.