Introduction: Why Dental Photography Lighting Matters
High-quality dental photography is no longer a luxury — it’s a clinical and professional necessity. Whether you’re documenting cases, communicating with patients, planning treatment, or building your practice’s online presence, clear and accurate images are essential. But great dental photos start with great lighting.
Choosing the right dental photography light isn’t just about brightness — it’s about color accuracy, consistency, ease of use, portability, and how well it integrates with your workflow. The wrong light can produce shadows, distort colors, and make professional results frustratingly difficult.
This guide walks you through everything you need to select the best dental photography light for your practice — from understanding the core lighting concepts to choosing between different types of lights and matching them to your needs.
1. Fundamentals of Dental Photography Light
Light isn’t just an accessory — it’s the foundation of every clinical image. In dental photography, lighting does three critical things:
Improves Detail
Proper light reveals fine details like surface texture, margins, and soft tissue contours that are essential for diagnosis and documentation.
Ensures Color Accuracy
Accurate tooth and gum color is vital for shade selection, communication with labs, and case comparison.
Reduces Shadows
Shadows obscure critical information and make images hard to interpret. Controlled lighting minimizes shadows and highlights the anatomy you need to show.
To evaluate lighting, you need to understand a few core qualities:
Brightness / Intensity
Measured in lumens or lux, brightness determines how well the light illuminates your subject. Too dim and details disappear; too bright and you wash out features.
Color Temperature
Expressed in Kelvins (K), color temperature affects how colors appear in photos. For dental work, a light close to 5000–5600K (closest to daylight) produces the most realistic shades.
Color Rendering Index (CRI)
CRI indicates how accurately a light renders colors compared to natural light. A high CRI (>90) is better for dental photography because it prevents color distortion.
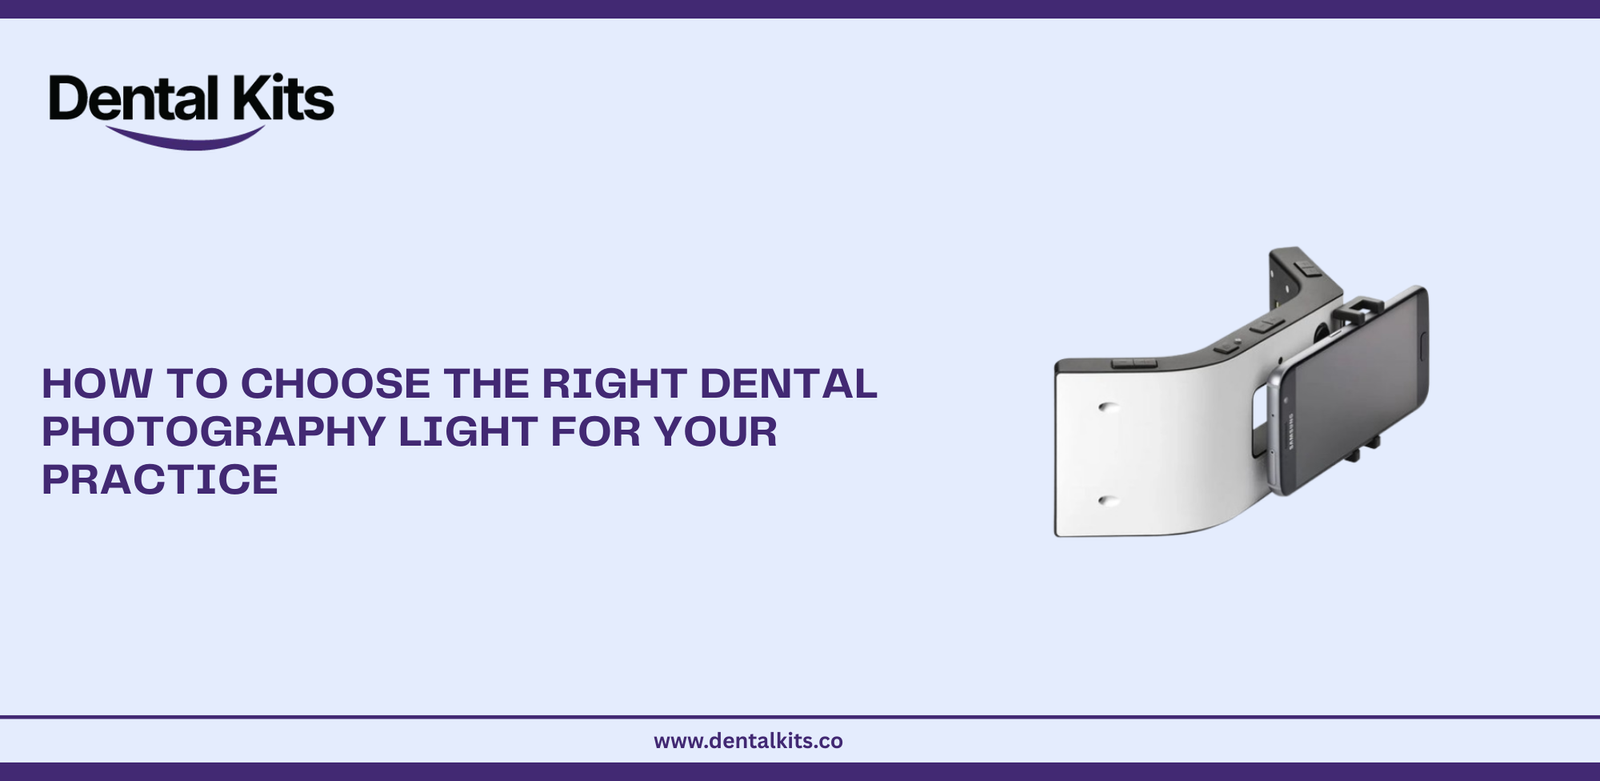
2. Types of Dental Light Photography
There are several lighting options — each with advantages and trade-offs. Knowing the differences will help you choose the right tool for your practice.
Ring Lights
These lights form a circle around the camera lens.
Pros:
- Even illumination
- Minimal shadows
- Good for extraoral and full-mouth shots
Cons:
- Can create flat lighting on three-dimensional structures
- Some models lack intensity for deep intraoral work
Dual LED Lights
Dual LEDs position two light sources around the lens.
Pros:
- Excellent shadow reduction
- Better control of lighting angle
- Works well for both intra and extraoral images
Cons:
- Slight learning curve for positioning
Flash Systems (Dedicated Dental Flashes)
These are high-power flashes designed for professional cameras.
Pros:
- Very high output
- Excellent color accuracy
- Best for advanced clinical photography
Cons:
- More expensive
- Bulkier gear
- Requires camera expertise
Continuous LED Lights
These lights stay on — no flashing.
Pros:
- Easy to compose and focus with light already visible
- Works with phones and cameras
- Great for video content
Cons:
- Sometimes less intense than flash
- Can cause reflections if not positioned right
3. Key Factors in Choosing a Dental Light Photography
To choose the best light, consider several practical features beyond type.
Brightness and Adjustability
Look for a light that offers adjustable brightness. Clinical cases vary — anterior teeth require different intensity than posterior arches. Adjustable lights grow with your needs.
Color Temperature and CRI
The mobile dental photography light should be as close to daylight as possible. A color temperature in the mid-5000K range and a high CRI ensures that what you see in the photo matches reality.
Portability and Ease of Use
If you plan to take photos chairside or with a mobile device, portability matters. Rechargeable continuous lights and compact LED systems make shooting easier without bulky tripods and setups.
Compatibility
Match your light with your camera system:
- Smartphones: LED lights that clip or mount easily
- DSLR / Mirrorless: Flash or continuous lights compatible with hot shoes or sync cables
Budget
You don’t need to overspend, but avoid the cheapest options. A reliable light pays for itself in better documentation, patient understanding, and professional output.
4. Practice-Based Use Cases
Your choice of light also depends on how you plan to use it.
Intraoral Shots
These require bright, shadow-free lighting focused deep inside the mouth. Dual lights or flashes with diffusers excel here.
Extraoral Portraits
Even lighting that wraps around the face works best — ring lights and continuous LED panels are popular for full-face dentistry photos.
Clinical Documentation
Consistency is key. Choose lighting that can be standardized across sessions so before-and-after comparisons are reliable.
Marketing and Education
If you’re creating materials for your website or social media, consider continuous LED lights with adjustable color temperature for both photo and video.
5. Common Mistakes and How to Avoid Them
Even great lights can fail if used incorrectly. Here are the top pitfalls and solutions.
Using Only Built-In Flash
Smartphone or camera built-in flashes are not designed for dental work — they create harsh shadows and uneven highlights.
Solution: Pair your camera with a dedicated light source.
Ignoring Color Accuracy
Lights that distort color can mislead shade selection and misrepresent teeth and tissue.
Solution: Choose lights with high CRI and daylight-balanced color temperature.
Not Adjusting for Environment
Ambient room lighting varies widely. Relying on overhead lights introduces inconsistent results.
Solution: Turn off or minimize room lights and use controlled dental lighting as your main source.
Poor Light Positioning
Incorrect angles create reflections or block details.
Solution: Take time to practice angling the light sources — slight adjustments make big differences.
Conclusion: Make Lighting Work for Your Practice
Choosing the right dental photography light isn’t just a purchase — it’s an investment in clinical clarity, patient communication, and professional branding. The right light:
✔ Provides consistent, accurate images
✔ Improves clinical documentation
✔ Enhances treatment acceptance
✔ Elevates your practice’s visual presence
When evaluating options:
- Focus on brightness, color accuracy, adjustability, and compatibility
- Match the lighting type to your primary use cases
- Avoid common mistakes by practicing positioning and technique
Great dental photos start with great light — and with the right choice, you’ll elevate every image you take.