Toy making looks fun. However, to amateurs and corporations, it may seem risky. You are concerned with safety, price, and the question of whether your design is scalable. This guide takes you through the process of making the toy step by step. I will explain how to make toys and how toys are produced, so you can be confident in beginning.
I’ll give clear, actionable steps and real-world tips so you know what to expect. Let’s start!
What does toy manufacturing cover

The entire process of making the toys is the concept of a finished product. It comprises design, prototyping, materials, production, testing, packaging, and distribution. Every step is different in cost and time. You will need to be familiar with these parts to create your own toys.
Market fit, safety certification, and planning of the supply chain are also components of toy product development for businesses. In the case of hobbyists, it implies the adoption of simple techniques that maintain the risk at a low level.
Stage 1: Idea and toy design
Start with a clear idea. Sketch it. Then ask:
- Who will play with this toy?
- What age group?
- Is it educational, collectible, or plush?
Next, move to basic design. Prototypes: Use simple CAD or paper prototypes. This is the point at which you choose materials and mechanism. Design for early manufacturability. That keeps costs down.
When you are asking yourself how to make a toy, this is where you transform an idea into something buildable. Take into account such toy design regulations as size, parts that move, and small parts. These influence safety testing in the future.
Stage 2: Prototyping and testing
Prototypes prove the idea. 3D print, make on foam cores, or hand-made. Function test first. Then test for durability. Request friends or your target customers to sample it.
Prototyping brings out the concealed issues. As an example, a joint that would appear fine in CAD may be broken after ten applications. Fix issues before tooling. Tooling is expensive. Don’t skip prototypes.
Stage 3: Materials and safety rules
Durability and cost are determined by materials. Plastics are common. ABS does well on injected action toys. Plush and flexible sections are made of soft PVC and fabric suits.
Safety is critical. In many markets, toys must meet standards such as ASTM F963 (US) or EN71 (EU). These standards cover choking, flammability, and chemical limits. You must design with those rules in mind. Also, check local laws where you’ll sell.
I’ve seen startups delay launches because they ignored material rules. Plan tests early. That saves time and money.
Stage 4: Manufacturing methods
Different products need different processes. Here are common ones:
- Injection molding — great for high-volume rigid plastic parts.
- Blow molding — for hollow plastic shapes.
- Rotational molding — for larger hollow toys.
- Die-casting — for metal parts and collectibles.
- Sewing and stuffing — for soft toys and plush.
- PCB assembly — for electronic toys.
Each method has trade-offs. Injection molding has high upfront tooling costs but low part cost at scale. Sewing has low tooling but higher labor per unit. Choose based on your volume and price target.
Packaging and branding
Packaging sells. It also protects. Design packaging that reflects your brand. For mass retail, consider shelf-ready features. For direct-to-consumer, unboxing matters more.
If you order packaging in volume, look into custom toy boxes wholesale for cost savings. Good packaging also lists age grade, safety marks, and instructions. That reduces returns and increases trust.
Scaling and supply-chain tips
Scale carefully. First, follow small, validated production runs. Next, refine tooling based on feedback. Then increase quantity to reduce per-unit cost.
Also, diversify suppliers where possible. If one plant halts, you still ship product. Finally, prepare inventory buffers for peaks like holidays.
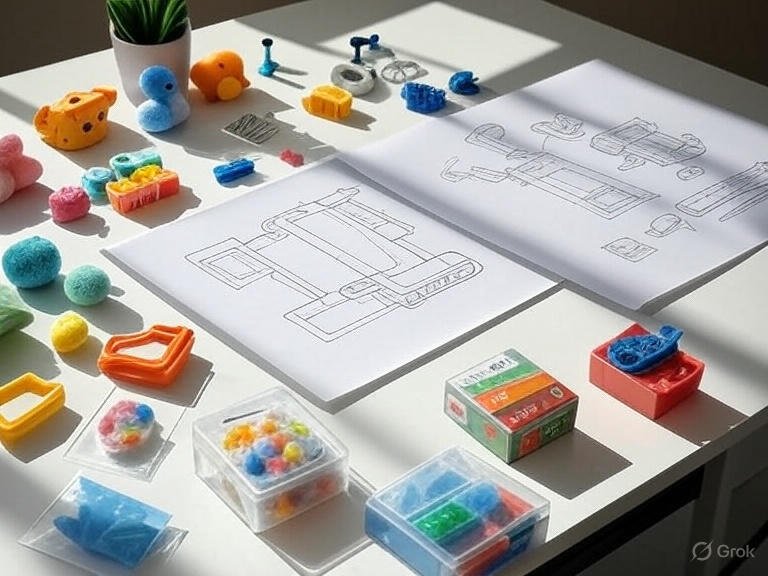
Home-based toy making and small runs
Want to make your own toys at home? Start small. Use simple materials:
- Felt and sewing for plush.
- Polymer clay for figurines.
- 3D printed parts for rigid toys.
Remember about age-appropriateness. Toys should not have small pieces. Label clearly. When testing, move to professional processes after testing, and if you plan to scale.
Packaging for niche products
For action figures or collectibles, precise presentation matters. Collectors value clean joints, crisp paint, and protective inner trays. When you reach that stage, invest in quality packaging and consider custom action figure packaging to protect and present your product professionally.
Final checklist before launch
- The prototype passed durability tests.
- Materials are compliant with standards.
- Production sample approved.
- QC plan documented.
- Packaging designed and manufacturer lined up.
- Certifications or lab tests are scheduled where required.
Do these, and you reduce legal and reputational risk.
Is it possible to begin the manufacturing of toys at home?
Yes, in the case of prototypes and small runs of craft. Often, the creators begin at home with sewing, clay, or 3D printing. Professional manufacturing and testing will, however, be necessary in case of mass sales.
What are the most significant legal challenges?
Chemical limits and safety testing. In a lot of markets, choking, flammability, and toxic substances tests are required. Such standards as ASTM F963 or EN71 inform such requirements. You will have to obey local regulations in your sales.
What do I do to be cost-effective when scaling?
Reduce unit costs by purchasing more units. But counterbalance that with demand risk. Negotiate tooling capitalization and look at common moulds or modular components to save money.
Concluding
There is a creative and disciplined approach to toy manufacturing. You need to make it safe and manufacturable. Prototype early. Test often. Select an optimal approach to your volume. Then, be smart and defend your brand.
Ready to move from idea to production? Start by sketching, then prototype. Next, plan materials and testing. Do that, and you’ll be far ahead of many new creators.