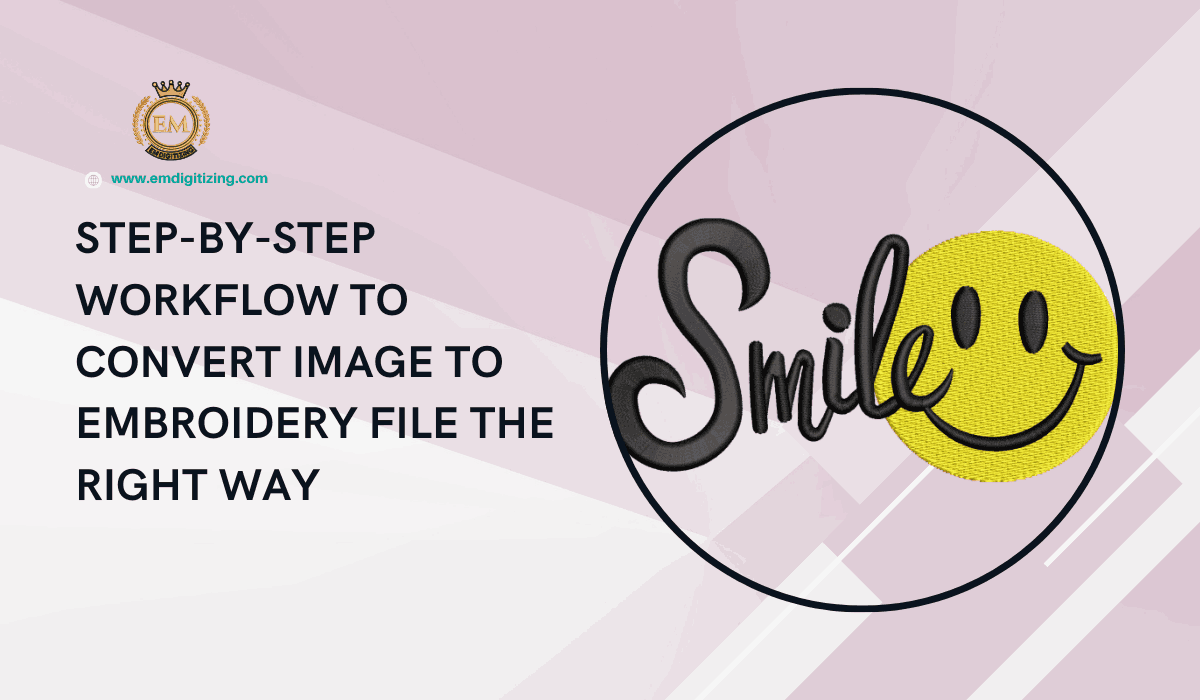
Step-by-Step Workflow to Convert Image to Embroidery File the Right Way
By Embroidery digitizing 24-11-2025 105
Embroidery machines can only stitch designs when they are properly converted into a readable embroidery file. If you use artwork without conversion, the output becomes uneven, broken, or misaligned. That’s why understanding the correct workflow to convert an image to an embroidery file is essential for clean stitching.
This guide explains the proper steps professionals Convert Image to Embroidery File follow to create a balanced, machine-ready file.
1. Prepare the Image Before Conversion
Before digitizing begins, the image must be cleaned and simplified.
What professionals do:
Remove unnecessary backgrounds
Improve sharpness and clarity
Adjust contrast for better outline visibility
Simplify overly detailed artwork
A clean image makes the conversion process more accurate.
2. Choose the Right Embroidery Software
Converting an image requires reliable software capable of manual control.
Common tools used by professionals include:
Wilcom
Hatch
Embird
Pulse
Each software provides stitch types, density control, and pathing options that help create a balanced file.
3. Set the Correct Hoop Size and Fabric Type
Before adding stitches, the digitizer selects:
Hoop size
Fabric type
Thread brand
Machine format
These settings determine the strength, spacing, and direction of stitches during embroidery.
4. Trace the Image Manually
Automated tracing rarely produces clean results. Professionals trace the image manually for better accuracy.
Steps include:
Creating outlines
Defining shapes
Separating color sections
Planning the stitching order
Manual tracing ensures each part of the design is clearly defined.
5. Assign Suitable Stitch Types
Every portion of the design requires the correct stitch type.
Common stitch types:
Satin stitch for borders, letters, smooth curves
Fill stitch for large areas
Run stitch for fine details
Choosing the right stitch type improves both quality and durability.
6. Adjust Density and Underlay
Density determines how closely the stitches sit together. Underlay stabilizes the design.
Professionals carefully adjust:
Stitch density
Pull compensation
Underlay type (zigzag, edge-run, center-run)
These controls prevent puckering and ensure clean finishing.
7. Set the Correct Stitch Pathing
Pathing decides the stitching sequence. When done properly:
Thread breaks reduce
Machine runs smoothly
Design remains aligned
Wrong pathing leads to jumps, trims, and uneven stitching.
8. Apply Colors and Thread Mapping
The digitizer assigns each section its proper thread color. This helps the machine follow the correct sequence during stitching.
9. Test the File on a Machine
A test run is essential before final delivery.
During the test, professionals check:
Density balance
Stitch flow
Thread tension
Edge sharpness
Any flaws are corrected and updated in the final file.
10. Export the Final Embroidery File
The final file is exported in the required machine format like:
DST
PES
JEF
EXP
Each machine accepts specific formats, so exporting correctly is important.
Conclusion
By following a structured workflow, converting an image to an embroidery file becomes a clean and technical process that improves stitch quality. When handled carefully, this workflow helps ensure smooth, accurate, and long-lasting embroidery results. Emdigitizing provides expert assistance for those who want professional-grade conversion done the correct way.
FAQs
Q: Can any image be converted into an embroidery file?
Simple and clear images convert best, but even complex designs can be digitized with adjustments.
Q: Why does manual digitizing give better results than automatic tools?
Manual digitizing allows full control over stitch direction, density, and pathing, giving better quality.
Q: Do different fabrics require different settings?
Yes, every fabric needs custom density, underlay, and compensation settings.
Q: How long does it take to convert an image properly?
Small designs take 15–30 minutes; complex logos can take over an hour.