Industrial CT scanning has become one of the most advanced inspection technologies in modern manufacturing. Its ability to see inside components without destroying them makes it invaluable for quality control, reverse engineering, and failure analysis. However, one of the most common questions manufacturers ask is: how accurate is industrial CT scanning, and what tolerances can it reliably achieve?
This article explains industrial CT scanning accuracy in simple terms, covering achievable tolerances, influencing factors, and real-world capabilities across industries.
What Is Industrial CT Scanning?
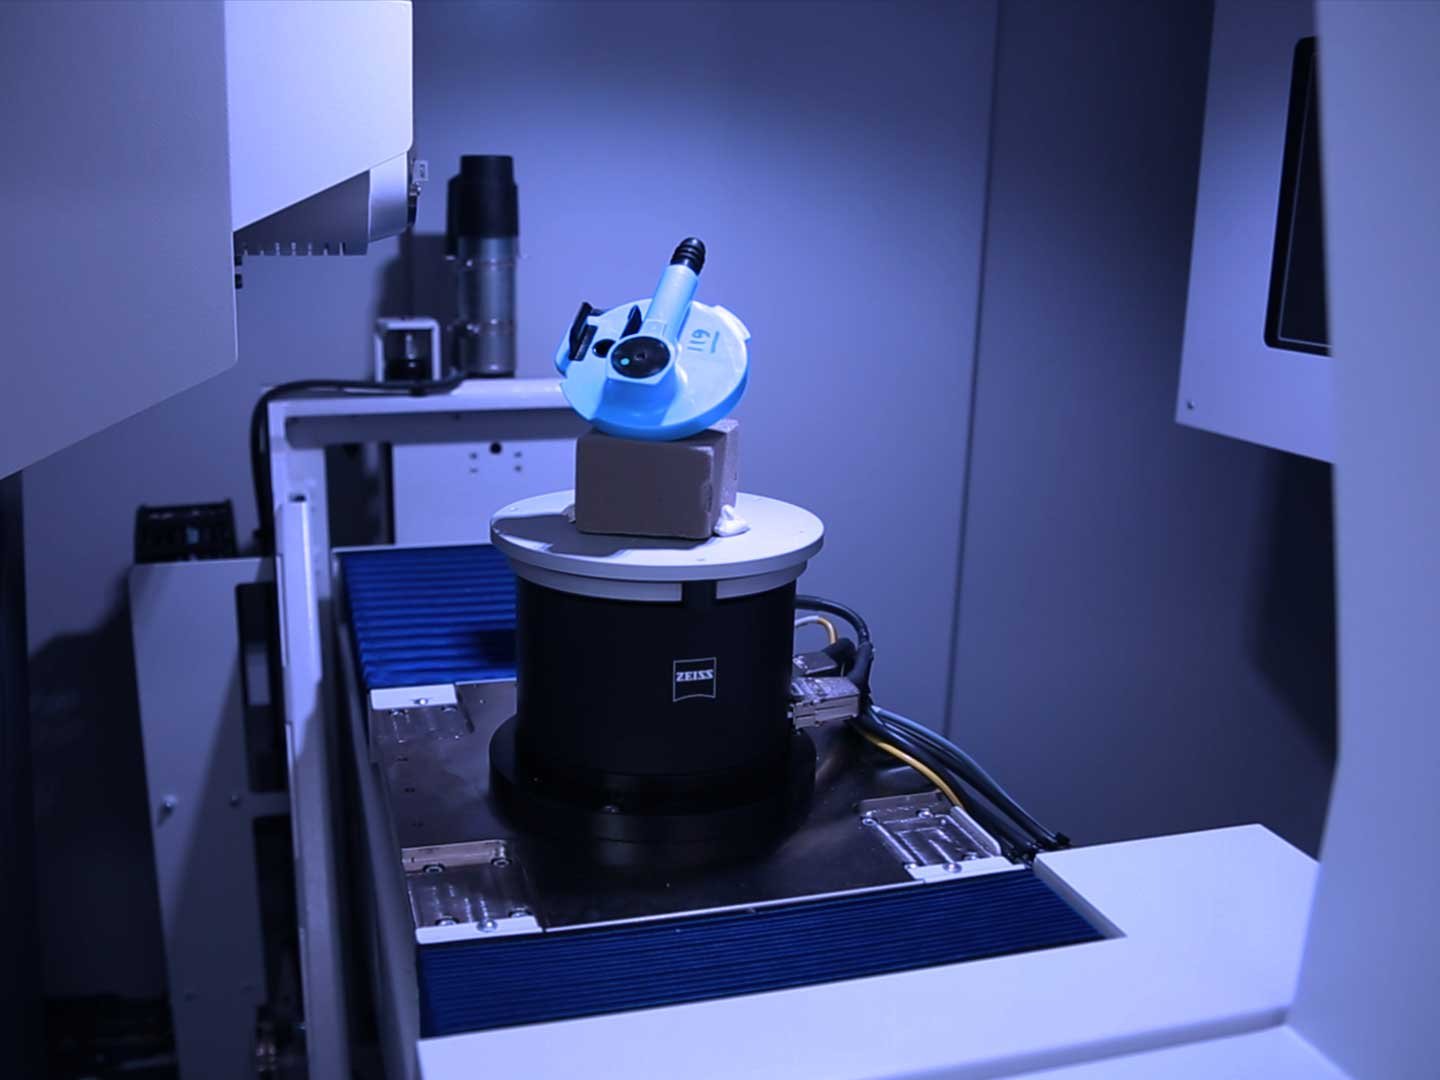
Industrial CT scanning (Computed Tomography) uses X-rays to capture thousands of internal images of a component from multiple angles. These images are reconstructed into a detailed 3D model, allowing engineers to inspect both internal and external features without cutting the part open.
Unlike traditional inspection methods, industrial CT scanning enables:
Internal defect detection
Wall thickness analysis
Dimensional measurement
Assembly inspection
Material integrity analysis
How Accurate Is Industrial CT Scanning?
The accuracy of industrial CT scanning depends on several factors, but modern systems are capable of delivering high-precision measurements, often within micron-level tolerances for small and medium-sized components.
Typical Accuracy Ranges
While results vary by application, common achievable accuracy ranges include:
±5–20 microns for small, high-resolution scans
±20–50 microns for medium-sized industrial components
±50–100 microns for large or dense parts
These tolerances make industrial CT scanning suitable for many dimensional inspection tasks traditionally handled by CMMs, especially where internal geometry is involved.
Key Factors That Influence Accuracy
1. Component Size and Geometry
Smaller parts generally achieve higher accuracy because they can be scanned at higher resolution. Larger components require wider scan volumes, which can slightly reduce precision.
Complex shapes, thin walls, and deep internal features may also affect measurement certainty.
2. Material Type and Density
Material composition plays a major role in industrial CT scanning accuracy:
Plastics and composites offer excellent scan clarity and high accuracy
Aluminium and light metals scan well with strong dimensional reliability
Dense metals (steel, titanium) may require advanced settings and longer scan times
Higher-density materials can introduce artefacts that must be corrected during analysis.
3. Voxel Size (Resolution)
Voxel size is the CT equivalent of pixel size. Smaller voxels result in higher resolution and better accuracy.
For example:
A 10 µm voxel size allows extremely fine feature detection
Larger voxels reduce resolution but enable scanning of bigger parts
Choosing the correct voxel size is critical for achieving reliable tolerances.
4. System Calibration and Environment
Accurate industrial CT scanning relies on:
Regular machine calibration
Temperature-controlled environments
Stable component positioning
Professional metrology-grade CT systems are calibrated using traceable standards to ensure consistent accuracy.
Industrial CT Scanning vs Traditional Measurement Methods
CT Scanning vs CMM
| Feature | Industrial CT Scanning | CMM |
|---|---|---|
| Internal features | ✅ Yes | ❌ No |
| Non-destructive | ✅ Yes | ✅ Yes |
| Complex geometry | ✅ Excellent | ⚠ Limited |
| Speed for assemblies | ✅ Fast | ❌ Slower |
| Highest surface accuracy | ⚠ Slightly lower | ✅ Higher |
While CMMs still offer superior surface accuracy in some cases, industrial CT scanning provides unmatched insight into internal tolerances and assembled parts.
What Can Industrial CT Scanning Measure Accurately?
Industrial CT scanning is highly capable across a wide range of inspection tasks:
Dimensional Measurement
Hole positions
Wall thickness
Internal channels
Thread profiles
Defect Detection
Porosity
Cracks
Inclusions
Voids
Assembly Inspection
Component alignment
Internal fit and clearance
Hidden damage
Reverse Engineering
Full 3D geometry capture
CAD model generation
Tolerances: What’s Realistic in Production?
Industrial CT scanning is ideal for verification, validation, and investigation, rather than ultra-tight surface-only tolerance control.
Best-fit use cases include:
Injection-moulded components
Additive manufacturing
Castings
Complex assemblies
Safety-critical parts
For extremely tight tolerances (below ±5 microns on external surfaces), CT scanning is often combined with CMM or optical inspection for best results.
Advantages of Industrial CT Scanning Accuracy
Measures features that cannot be accessed physically
Reduces destructive testing costs
Detects defects before failure occurs
Supports faster root-cause analysis
Improves confidence in quality assurance
Limitations to Be Aware Of
While powerful, industrial CT scanning is not always the right tool:
Very large parts may exceed scanner capacity
Extremely dense materials can reduce clarity
Surface-only ultra-precision may favour contact methods
Understanding these limitations ensures the right inspection method is selected.
Conclusion
Industrial CT scanning accuracy has advanced significantly, making it a trusted inspection solution across manufacturing, aerospace, automotive, and medical industries. With achievable tolerances down to a few microns in the right conditions, it offers unmatched insight into internal structures and complex geometries.
When used correctly, industrial CT scanning delivers accurate, repeatable results that improve quality, reduce risk, and support smarter engineering decisions.
Tags : Industrial CT Scanning


