How to Jump Start a Car Safely: A Practical Guide Every Driver Should Know
By Revsling 19-02-2026 88
Few things are more frustrating than turning your key (or pressing the start button) and hearing nothing but a weak click. A dead battery can catch anyone off guard — whether you're rushing to work, leaving a parking lot, or getting ready for a road trip.
The good news? Jump starting a car is straightforward when done properly. You don’t need to be a mechanic. You just need the right tools, a clear process, and a basic understanding of safety.
This guide walks you through everything in simple terms — no confusion, no guesswork.
Why Car Batteries Suddenly Die
Before we get into the “how,” it helps to understand the “why.”
Car batteries typically last between three to five years. Over time, they naturally lose their ability to hold a charge. But age isn’t the only reason they fail.
Common causes include:
Leaving headlights or interior lights on overnight
Extreme cold or heat
A weak alternator
Corroded battery terminals
Short drives that don’t allow the battery to recharge fully
If your engine cranks slowly, dashboard lights flicker, or you hear repeated clicking when starting the car, the battery is usually the culprit.
What You’ll Need Before You Begin
Jump starting isn’t complicated, but preparation matters.
You’ll need:
A good set of jumper cables (thicker cables work better)
Another vehicle with a fully charged battery or a portable jump starter
Basic safety awareness
Optional but recommended:
Gloves
Safety glasses
Before connecting anything, quickly inspect the battery. If it’s cracked, leaking, or visibly damaged, do not attempt to jump start it. That situation requires professional help.
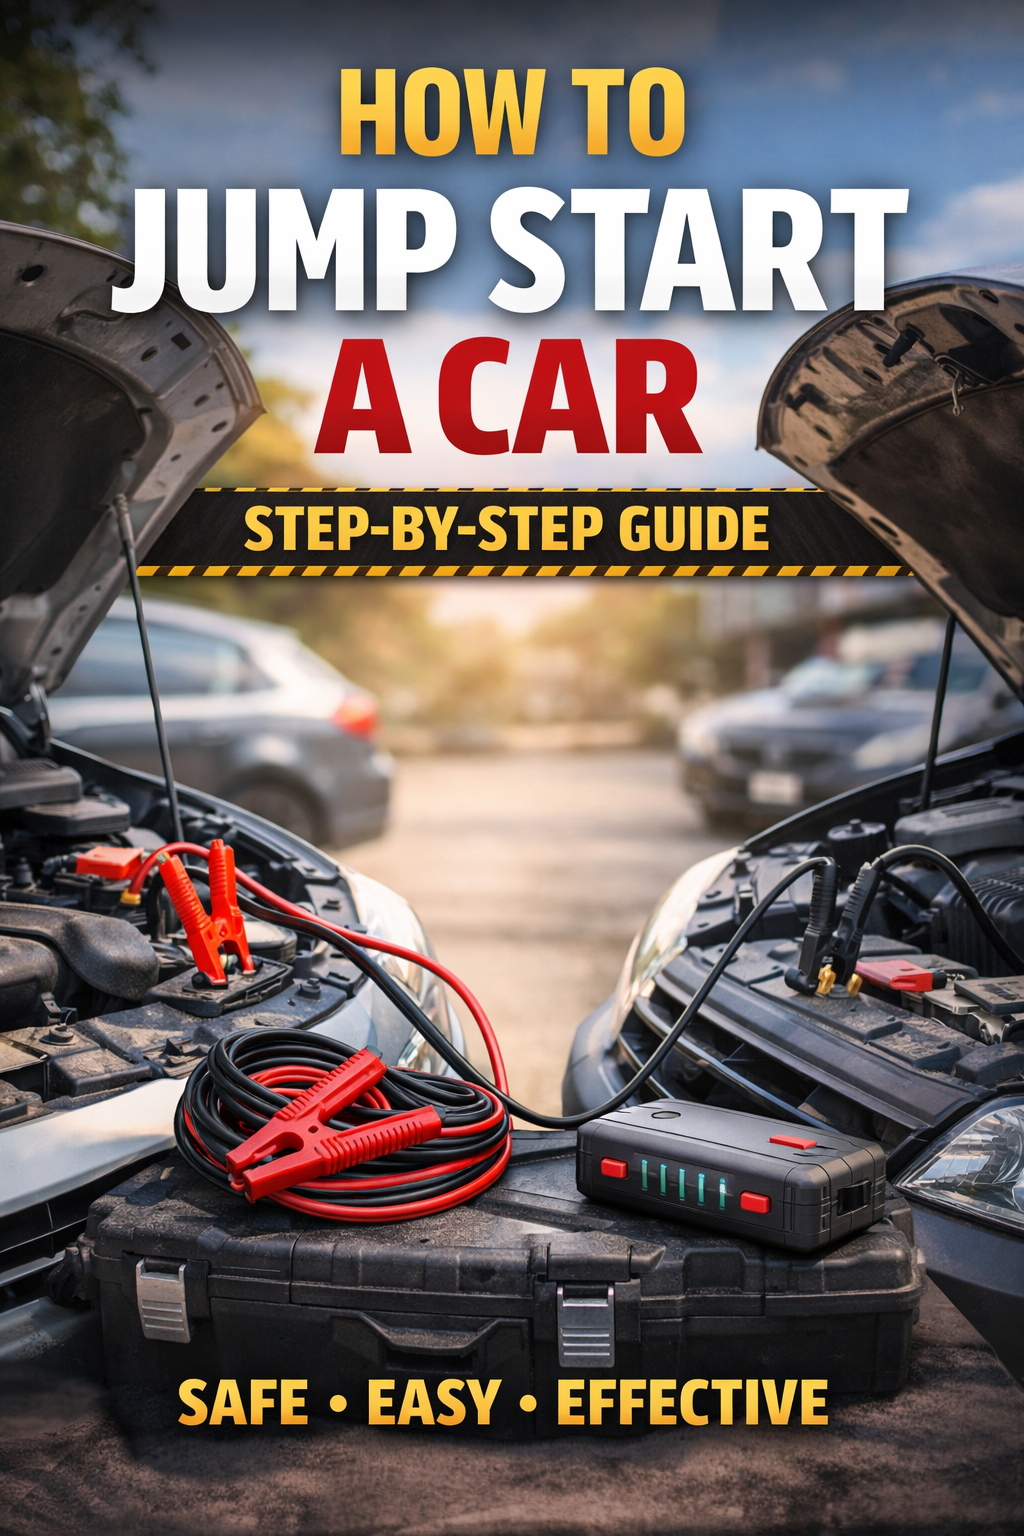
Step-by-Step: How to Jump Start a Car
Follow these steps carefully and in order. Most problems happen when people rush or connect cables incorrectly.
1. Position the Vehicles Correctly
Park the working vehicle close enough so the jumper cables can reach both batteries. Make sure the cars are not touching.
Turn both engines off. Engage parking brakes. Open the hoods and locate the batteries.
Identify the terminals:
Positive terminal is marked with a “+” and usually has a red cover
Negative terminal is marked with a “–” and is usually black
Take a moment here. Confirm you can clearly see both terminals.
2. Connect the Jumper Cables in the Right Order
This order is critical.
Attach one red clamp to the positive (+) terminal of the dead battery.
Attach the other red clamp to the positive (+) terminal of the working battery.
Attach one black clamp to the negative (–) terminal of the working battery.
Attach the final black clamp to an unpainted metal surface on the car with the dead battery (a bolt or metal bracket works well).
Do not connect the last black clamp directly to the negative terminal of the dead battery. Using a metal ground point reduces the risk of sparks near the battery.
Once everything is connected, double-check the clamps. They should feel secure and stable.
3. Start the Working Vehicle
Start the vehicle with the good battery first.
Let it run for two to five minutes. This allows power to flow into the drained battery. You may notice slight engine sound changes — that’s normal.
There’s no need to rev aggressively. Just let it idle steadily.
4. Start the Dead Vehicle
After a few minutes, try starting the vehicle with the dead battery.
If it doesn’t start immediately, wait another couple of minutes and try again. Avoid continuous cranking, as that can strain both vehicles.
In most cases, the engine should start within a few attempts.
Once it starts, let it run. Do not turn it off yet.
5. Remove the Cables Safely
Now disconnect the cables in reverse order:
Remove the black clamp from the grounded metal surface.
Remove the black clamp from the working battery.
Remove the red clamp from the working battery.
Remove the red clamp from the previously dead battery.
Keep the clamps from touching each other during removal.
Close both hoods securely.
What to Do After the Car Starts
Starting the car is only part of the solution. The battery now needs time to recharge.
Let the vehicle run for at least 20 to 30 minutes. Driving is more effective than idling, especially at steady speeds.
If the battery dies again shortly after, there may be a deeper issue:
The battery may be too old
The alternator may not be charging properly
There could be an electrical drain
If repeated jump starts become necessary, have the battery and charging system tested by a professional.
Safety Reminders That Matter
Jump starting is safe when done properly. Problems usually happen due to impatience or skipped steps.
Keep these points in mind:
Always connect positive to positive
Never let clamps touch once connected
Avoid open flames or smoking near batteries
If you’re unsure, consult your vehicle’s manual
Modern vehicles with advanced electronics may have specific jump starting instructions. Some even have designated jump terminals under the hood.
When in doubt, check first.
Preventing Future Battery Problems
A jump start solves the immediate problem, but prevention saves future headaches.
Simple habits can extend battery life:
Turn off lights before exiting the vehicle
Avoid leaving electronics plugged in
Drive long enough to allow proper charging
Clean battery terminals if corrosion appears
Replace aging batteries before they fail
Battery testing is quick and inexpensive at most auto service centers. If your battery is more than three years old, testing it annually is a smart move.
Final Thoughts
Knowing how to jump start a car gives you independence. It turns a stressful situation into something manageable.
The process isn’t technical. It’s about following steps carefully, respecting safety, and staying calm. Whether you're helping yourself or assisting another driver, confidence comes from understanding what you’re doing and why you’re doing it.
A dead battery is inconvenient — but it doesn’t have to ruin your day.
If you keep jumper cables in your trunk and remember the correct order of connections, you’ll always be prepared.
And sometimes, being prepared is all it takes to stay on the road.
Tags : .....