Picking up a paintbrush for the first time is exciting—but it can also feel intimidating. You might be asking yourself: What if I mess up? What if it doesn’t look like the picture in my head? The truth is, every artist—yes, even the pros—started with those same questions. The secret isn’t to be perfect from the start. The secret is to start with confidence and learn step by step.
This guide will walk you through acrylic painting for beginners step by step, showing you that painting is less about “getting it right” and more about enjoying the process.
Why Acrylic Painting Is Perfect for Beginners
Acrylic paints are practically made for learning:
They’re fast-drying. No waiting overnight between layers.
They’re affordable. A beginner set costs less than a nice dinner out.
They’re forgiving. If you make a mistake, just let it dry and paint over it.
They’re vibrant. Colors stay bold and beautiful once dry.
Unlike watercolors (which can be tricky to control) or oils (which need messy solvents), acrylics give you room to experiment without fear.
Step 1: Start with Simple Supplies
You don’t need a fancy studio. Here’s what you’ll need:
Acrylic paints: A small set with primary colors (red, blue, yellow), plus black and white.
Brushes: One flat brush for backgrounds, one round brush for details, and a liner for fine lines.
Canvas or acrylic paper: Either works well; choose whatever feels easy to manage.
Palette: Any plastic plate or mixing tray will do.
Cup of water and paper towels: For rinsing and cleaning brushes quickly.
Confidence tip: Expensive supplies won’t make you a better painter—practice will. Start simple and upgrade later if you want to.
Step 2: Get to Know Your Paints
Before painting anything serious, take a few minutes to play with your paints. Try these quick exercises:
Thin with water: Add a few drops to see how acrylics glide across the surface.
Mix colors: Discover how red and yellow make orange, or how blue and white make sky tones.
Layer colors: Paint a dark shape, let it dry, then cover it with something lighter. You’ll see how easily acrylics let you fix mistakes.
This warm-up helps you understand how acrylics behave, giving you confidence before you start your first real piece.
Step 3: Pick an Easy First Subject
Choose something simple but inspiring—nothing too detailed. Some great beginner ideas:
A sunset over water
A single flower
Rolling hills with a bright sky
Lightly sketch your design on the canvas with a pencil. Don’t worry about perfect lines. Your sketch is just a guide—not a contract.
Step 4: Paint in Layers
Acrylic painting works best when you build it step by step:
Block in the background. Use your flat brush to lay down big shapes like sky, water, or grass.
Add the middle ground. Paint trees, hills, or objects in front of the background.
Finish with details. Once everything is dry, use smaller brushes for highlights, shadows, and textures.
Because acrylics dry quickly, you can move through these steps without long waits—and if something goes wrong, simply let it dry and paint over it.
Step 5: Make It Yours
Following acrylic painting for beginners step by step is helpful, but don’t be afraid to improvise. Change the colors, add new details, or try a different brushstroke. Your painting doesn’t need to look exactly like a tutorial or reference photo. What makes art exciting is that it reflects you.
Confidence tip: Don’t compare your first painting to someone else’s tenth. Every artist starts somewhere—and every brushstroke makes you better.
Step 6: Add the Finishing Touches
Once your masterpiece is dry:
Paint the edges of your canvas for a clean, finished look.
Sign your name proudly. Even your first piece deserves recognition.
Optional: Add a clear acrylic varnish to protect your painting and keep the colors bright.
Hang your painting somewhere you’ll see it every day. It’s a reminder that you can create something beautiful—and proof that confidence grows with practice.
Beginner Questions, Answered
Do I need expensive paint?
No. Affordable student-grade paints are perfect for learning.
How long does acrylic paint take to dry?
Most layers dry in 10–20 minutes. Thick paint may take a bit longer.
What if I don’t like my first painting?
That’s normal. Every painter has early works they’d rather forget—but each painting teaches you something new. What matters most is that you keep painting.
Final Thoughts
Learning acrylic painting for beginners step by step isn’t about creating a flawless piece right away. It’s about discovering how colors mix, how brushes feel, and how fun it is to make something by hand. The more you paint, the more your confidence grows—and before long, you’ll be creating art that feels entirely your own.
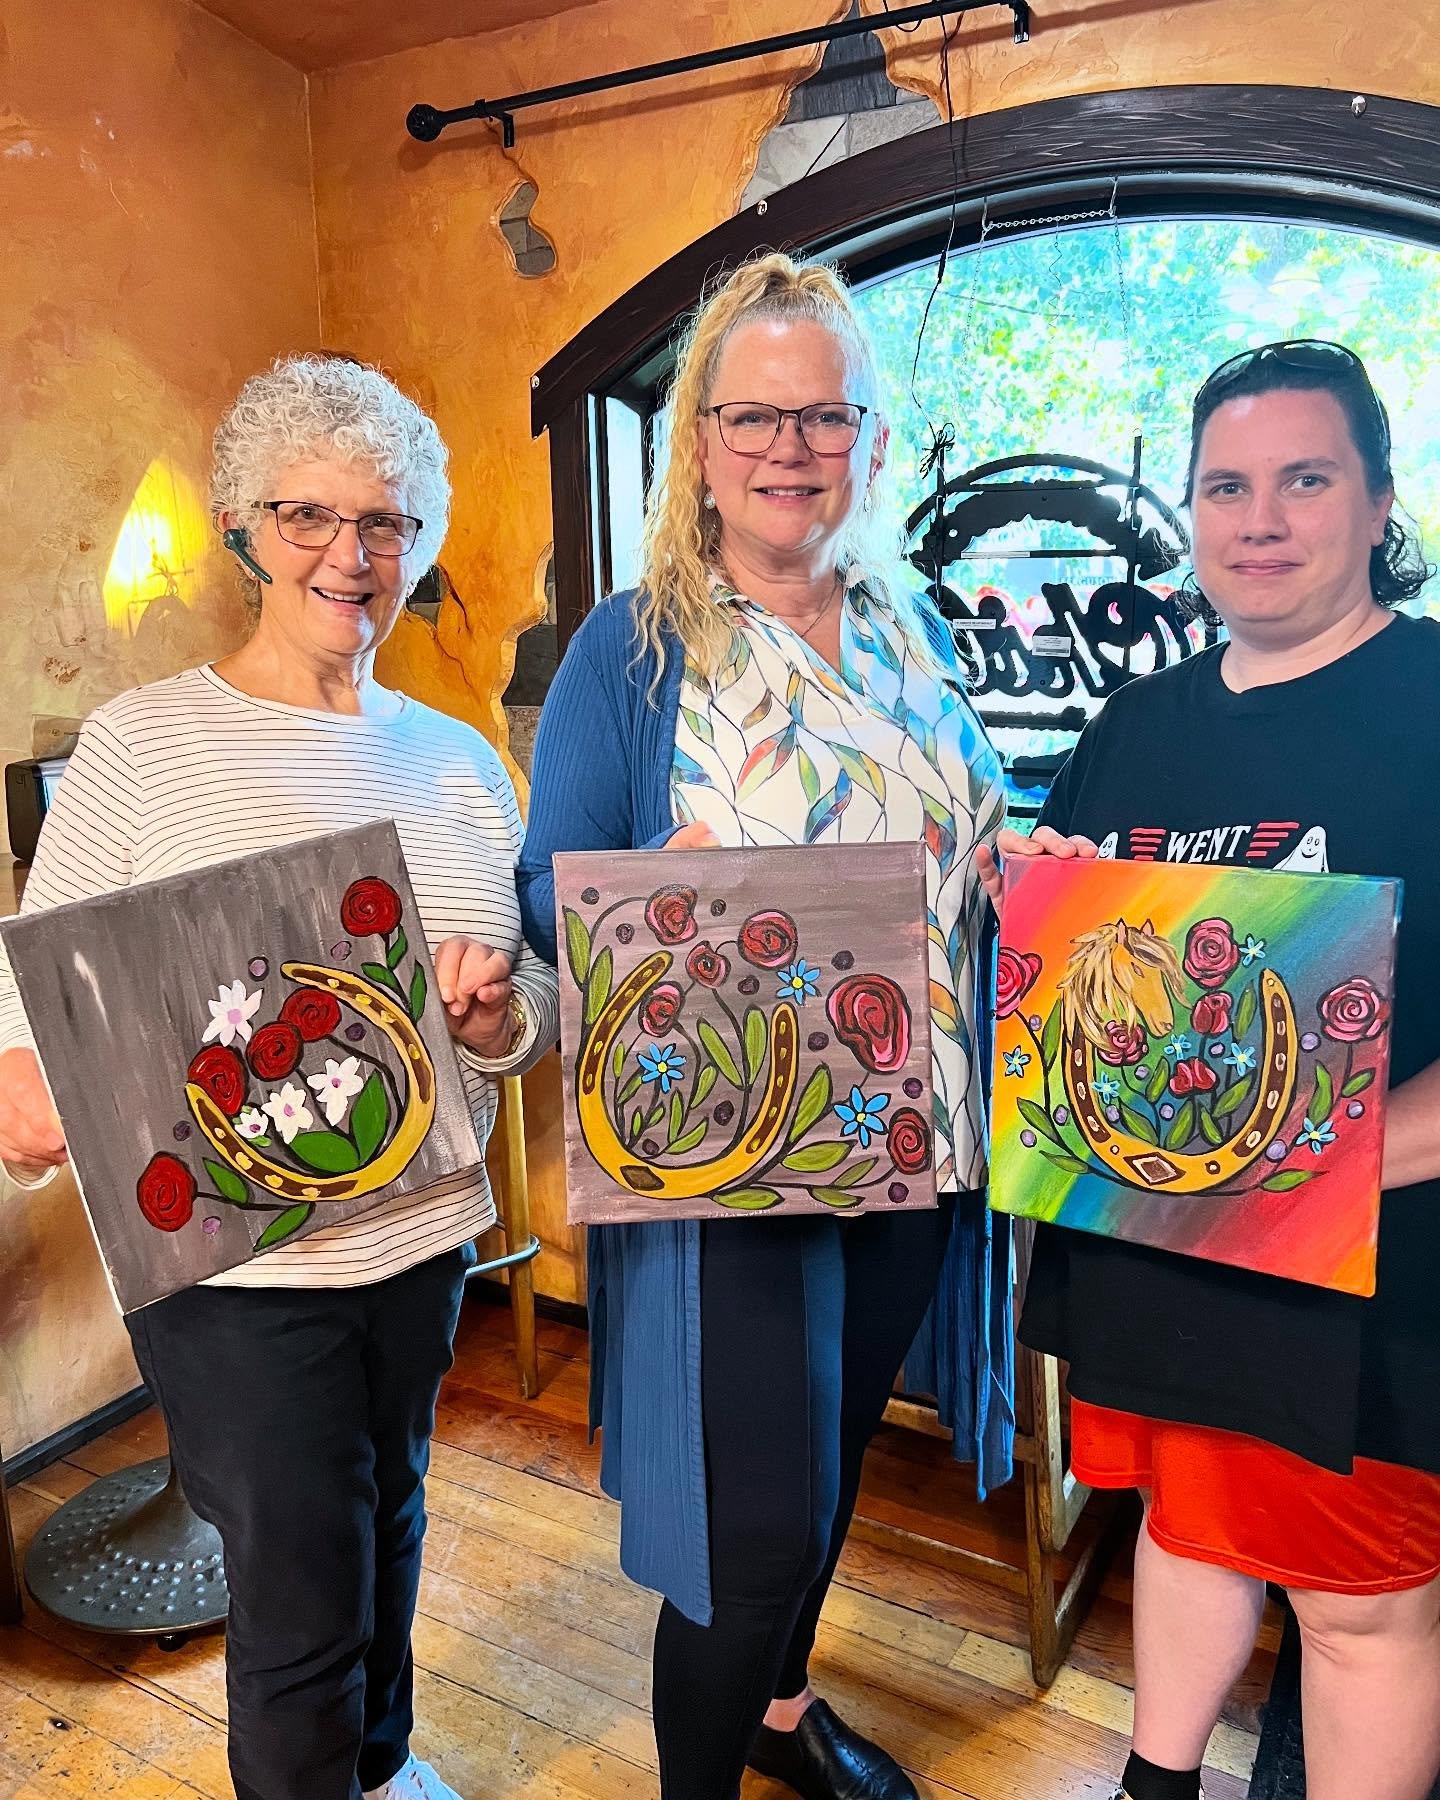
If you’d like to learn in a relaxed, social setting with guidance from an instructor, check out Artväna - paint and sip night Events. With a paintbrush in one hand and your favorite drink in the other, you’ll find that painting with confidence is easier—and more fun—than you ever imagined.