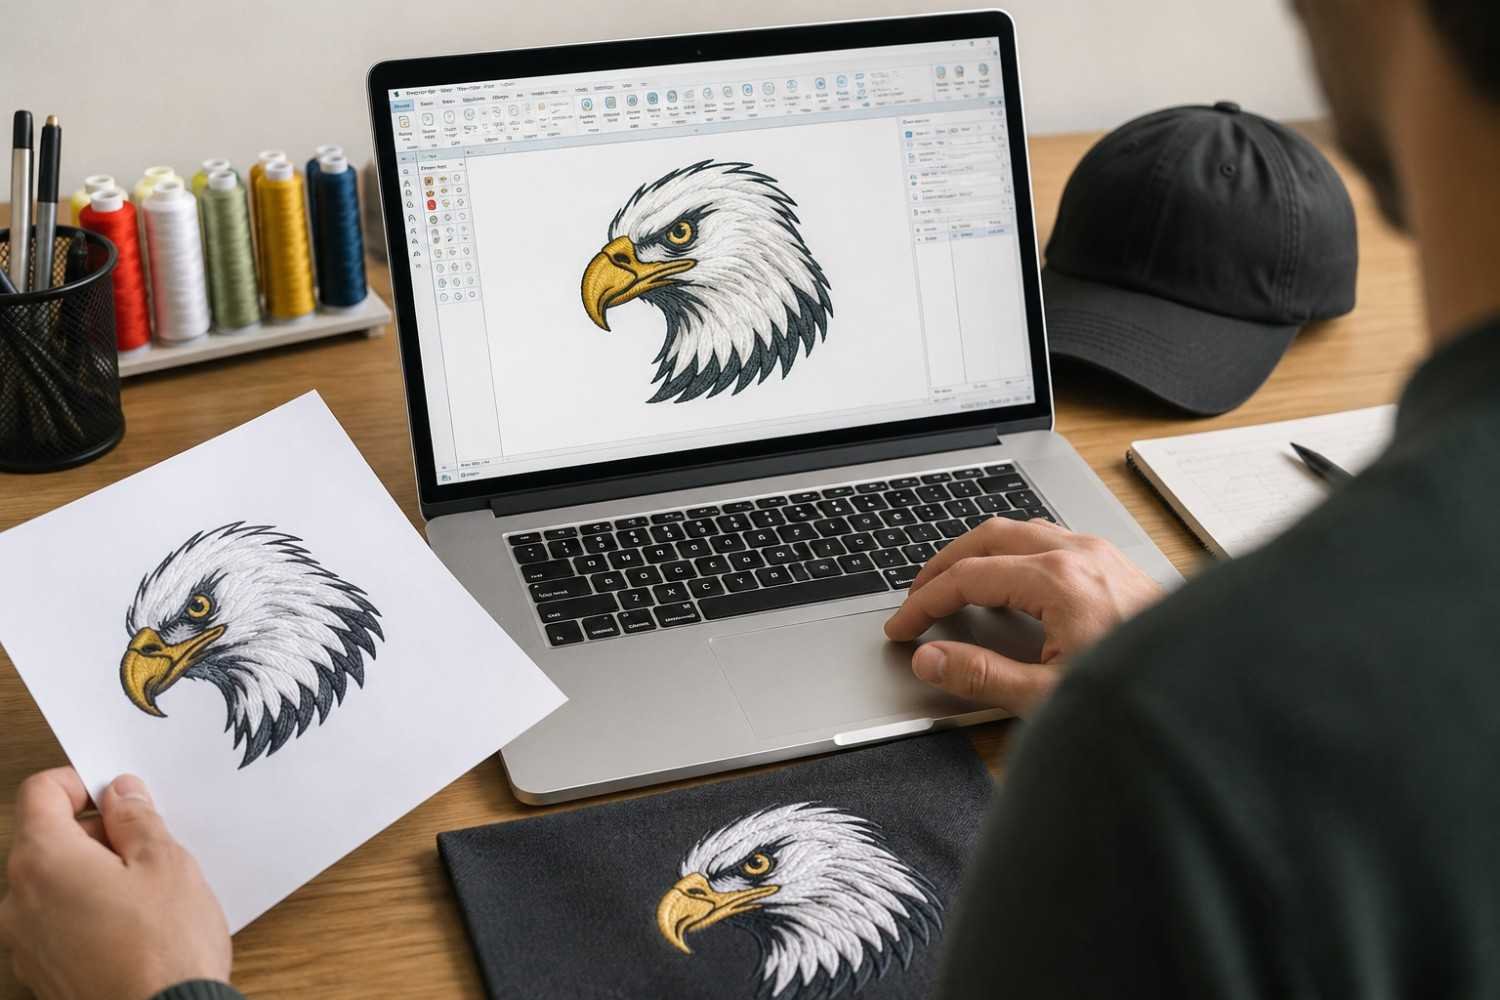
The first embroidery digitizing order often begins with a logo attachment and a simple request: “Please make this ready for embroidery.” What follows can feel confusing. The provider asks about garment type, finished size, placement, fabric, thread colors, and machine format. To a first-time buyer, these may sound like extras. In production, they decide whether the logo stitches cleanly or becomes a round of revisions.
A first order is easier when you stop thinking of it as buying a file. You are handing a visual brand to someone who must translate it into needle movement. The better that handoff is, the more useful the finished file becomes.
Start With the Result You Need to Approve
Before discussing DST, PES, or another format, describe the result you expect. Is the logo going on staff polos, structured caps, fleece jackets, tote bags, or patches? Will it be viewed from across a room or read closely on a sleeve?
This changes the order from “convert my logo” to “prepare this mark for a specific product.” A left-chest design may need open lettering and controlled density. A cap version may need different sequencing. A patch may require stronger edge planning. The product is part of the design brief.
Decide Which Brand Details Cannot Be Negotiated
Printed artwork often contains more information than thread can preserve at a small size. A logo may include a symbol, business name, tagline, date, shadow, and thin outline. Trying to protect every element equally can make the embroidery crowded.
Tell the digitizer what the viewer must recognize first. The main symbol and brand name may be essential, while a tiny tagline can be enlarged, simplified, or removed for the smallest version. This protects the parts that carry recognition.
If a registered mark, letter shape, border, or color relationship cannot change, state that before work begins. The digitizer can then recommend adjustments without making the wrong assumption.
Describe the Surface, Not Just the Garment Name
Saying “polo” or “cap” is helpful, but the surface matters more than the label. Piqué knit, smooth polyester, fleece, denim, towel fabric, and coated bag panels react differently to repeated needle penetrations.
Share a product photograph when possible. Mention texture, stretch, seams, padding, lining, or a center seam on a cap. For pockets and bags, include the usable embroidery area and show whether the machine can reach the back of the panel.
These details guide underlay, stitch direction, density, compensation, and sequence. They also help the provider flag a placement that looks good in a mockup but may be difficult to hoop.
Give the Finished Size as a Production Measurement
Do not send “small,” “standard chest size,” or “make it fit.” Measure the available area and provide a finished width or height in inches or millimeters. Confirm which dimension is fixed.
Size determines whether small letters remain open, narrow columns can use satin stitches, and gaps stay visible after thread spreads. A design prepared at four inches should not be reduced to two inches without review. It may need a separate version rather than simple resizing.
When the order covers several placements, list each one separately. A polo, sleeve, cap, and jacket back are four production uses, even when the artwork is the same.
Ask What the Quoted Service Includes
A quote is difficult to evaluate unless you know what will be delivered. Confirm the machine format required by your embroidery shop and ask whether a stitch preview, color sequence, finished dimensions, and additional format are included.
Also ask how revisions are handled. A stitch-performance revision differs from replacing the artwork, adding wording, or changing the final size. Clear boundaries prevent frustration after the first sample.
BitsNPixs provides professional embroidery digitizing services in the USA with machine-ready formats, revision support, and file backup. For a first-time buyer, the useful question is not only how quickly the file will arrive, but whether the provider will help interpret production feedback after testing.
Use the First Sew-Out as a Working Proof
The digital preview is not final approval. It can show sequence and general appearance, but it cannot fully predict how the selected fabric, backing, needle, thread, tension, and hooping will work together.
Ask the decorator to stitch a sample on the intended garment or a close material match. Review the logo at normal viewing distance first. Then inspect small text, borders, fill coverage, puckering, stiffness, loose threads, and the back.
When something looks wrong, avoid a vague message such as “the file is bad.” Send clear front-and-back photographs and explain the product, size, fabric, machine, backing, and problem area. Specific evidence helps the digitizer decide whether spacing, underlay, compensation, density, or pathing needs adjustment.
Know When a New Use Needs a New File
A file approved for one product is not automatically approved for every product. The same logo can require different planning for a flat polo, curved cap, textured fleece, narrow sleeve, or thick patch border.
Ask before reusing or resizing the file. A major size or construction change can require a new version. Paying for the correct version is usually less expensive than wasting garments while forcing the wrong file to work.
Build a Brand Embroidery Pack After Approval
Your first successful order should leave you with more than a download. Save the approved machine file, artwork, stitch preview, finished size, placement, thread colors, garment details, backing notes, and a photograph of the sew-out.
Name the file by product and size rather than “final” or “latest.” Keep separate versions for caps, polos, patches, sleeves, and large placements. This turns one order into a reusable production record.
The strongest first order is not the one with the fewest questions. It is the one where the right questions are answered before the machine starts. When the provider understands the product, brand priorities, size, surface, and approval process, embroidery digitizing becomes a controlled handoff instead of a technical gamble.
Tags : embroidery digitizing