Ever held a t-shirt and thought — I wish I had made this myself? That is exactly what custom t-shirt printing is for. Your idea, your design, your fabric. A shirt that nobody else has. And honestly, the process is a lot simpler than most people think.
Whether you are designing for a brand, a college fest, a sports team, or just for yourself — this guide walks you through every step. No jargon. No fluff. Just what you actually need to know.
1. Know What the Shirt Is Actually For
Before you touch a font or pick a colour, ask yourself one question — what is this shirt for?
A custom t-shirt for a corporate event needs to feel clean and professional. A team jersey needs to be bold and readable from a distance. A personal design has no rules at all. The purpose shapes everything — the fabric, the print style, the layout, and the colours. Get this wrong and even a great-looking design ends up feeling off.
Most people skip this step and jump straight to the graphics. That is where the regrets start.
2. Pick the Right Fabric First
The t-shirt is your canvas. A bad canvas ruins a good design, no matter how sharp it looks on screen.
100% cotton is the most popular choice for custom t-shirts — soft, breathable, holds print well, and comfortable enough to wear all day. Cotton-polyester blends are a step up for durability and colour retention, especially for bulk orders. Pure polyester works well for sportswear because it wicks moisture and lasts through hard use.
Also check the GSM — that is the weight of the fabric. A 160 GSM shirt feels light. A 220 GSM shirt feels heavier and more premium. For gifting or brand merchandise, go higher. For summer events, go lighter. Most people never check this and then wonder why the shirts feel cheap.
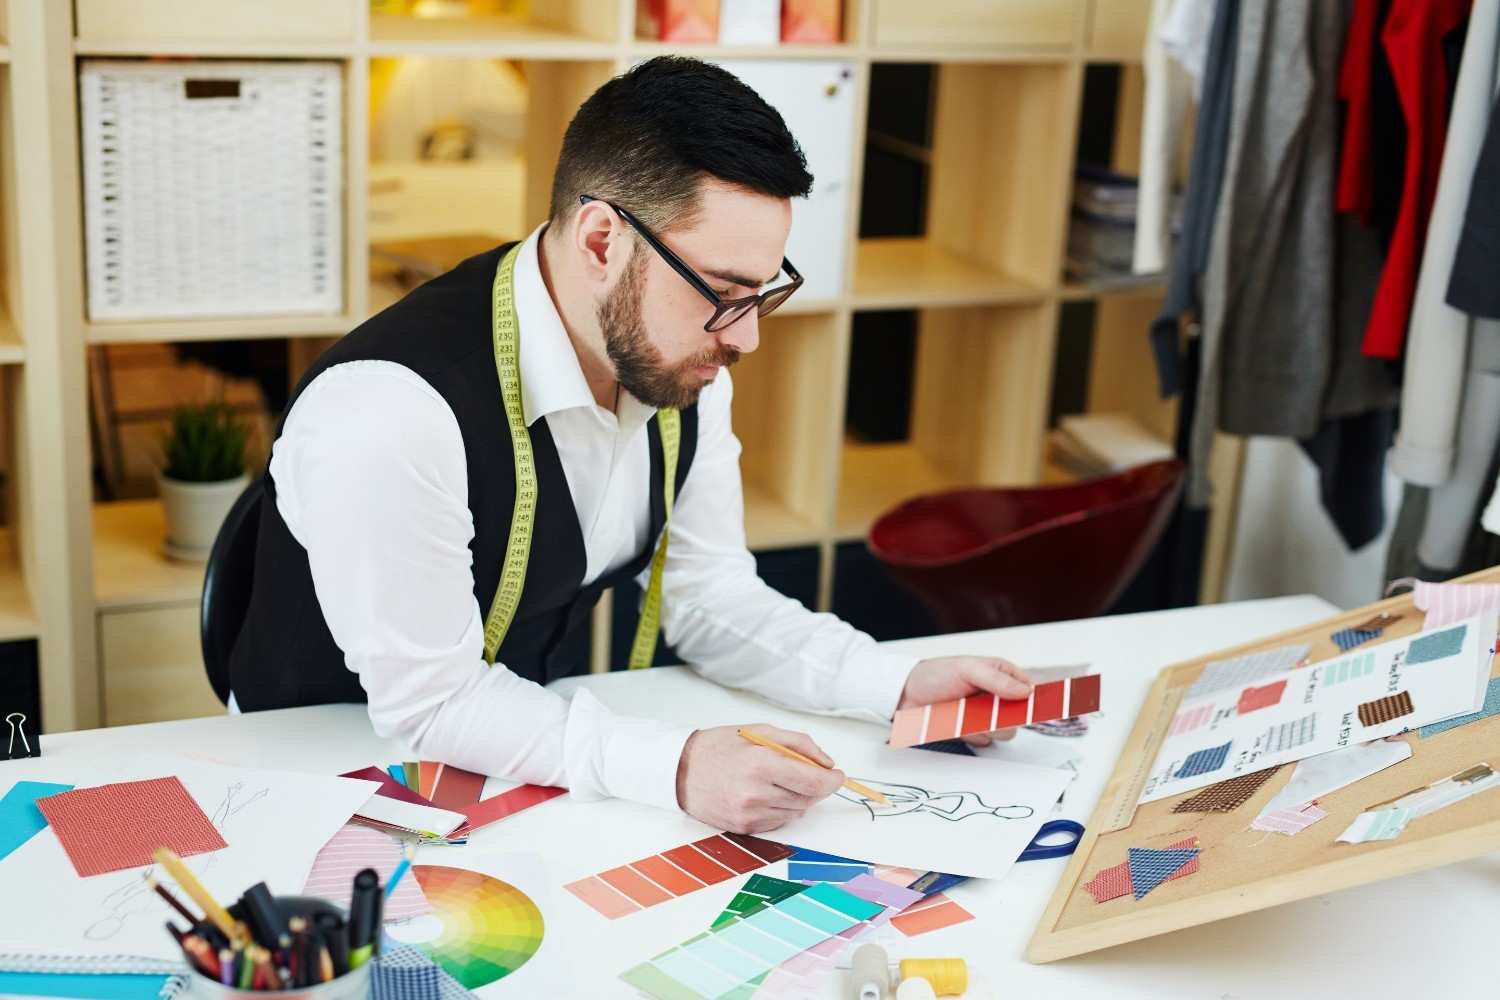
3. Design It Right — Simple Always Wins
Here is something most first-time designers get wrong. They try to put everything on the shirt. A logo, a tagline, a graphic, three colours, two fonts. The result looks cluttered and reads badly from any distance.
The best custom t-shirt designs are simple. One strong focal point. A font that fits the mood. Colours that work together on fabric, not just on screen. Think about what the shirt needs to say and cut everything else out.
A few things that actually make a difference:
Font choice: Bold and clean for sporty tees. Elegant script for personal or celebratory shirts. Never use more than two fonts on one design.
Contrast: Light text on dark shirts. Dark text on light shirts. Check this on the actual shirt colour, not a white background.
File quality: Use PNG at 300 DPI or a vector file. A blurry JPEG that looks fine on a phone screen will print terribly on fabric.
Originality: Avoid random images off the internet. Most are low resolution and copyrighted. If you need design help, ask for it upfront.
4. Choose the Printing Method That Matches Your Design
Not all printing methods work for all designs. This is one of the biggest mistakes people make when ordering a custom t-shirt for the first time.
Screen printing is the go-to for bulk orders with simple designs. Cost-effective and very durable. DTG printing (Direct-to-Garment) works like an inkjet printer on fabric — great for detailed, full-colour designs, even for a single piece. Heat transfer suits small runs and photo-based prints. Embroidery is not printing at all but gives a premium stitched finish — ideal for logos on corporate polos and brand merchandise.
If you are not sure which method fits your design, the printing service should be able to advise. A good one will always tell you before they start production.
5. Placement and Size — Do Not Guess
Where the design sits on the shirt changes how the whole thing looks. A centred chest print is the most versatile. A left chest logo feels corporate and clean. A full front print makes a loud statement. A back print works well for team names, event details, or a secondary graphic.
On size — view your design at the actual printed size before approving anything. A chest print is typically 25 to 30 cm wide. Going bigger makes it bolder. Going smaller makes it forgettable. Scale it right and the shirt looks intentional. Get it wrong and even a good design looks like an afterthought.
6. Always Get a Sample Before the Full Order
This is the step most people skip. It is also the step that prevents the most regrets.
If you are placing a bulk order — 20 shirts, 50 shirts, 200 shirts — get one sample printed and checked before you approve the full run. Look at the colour. Feel the fabric. Check that the print sits exactly where it should. A sample print costs very little. Reprinting a hundred shirts because something was off costs a lot more — in money, in time, and in frustration.
Most custom t-shirt printing services offer sample prints. Ask for it. A good printing partner will not hesitate.
Where to Get Your Custom T-Shirt Done Right
There are a lot of options out there. The difference between a good experience and a frustrating one usually comes down to print quality, honest communication, and whether the team actually checks your design before sending it to print.
At Yoode, the process is straightforward. Browse the custom t-shirt options, share your design over WhatsApp, and the team sends you a free mockup before printing anything. No guessing. No surprises. What you see is what gets printed.
Head to Yoode and start designing a custom t-shirt that is actually worth wearing.
Wrapping Up
Designing a custom t-shirt comes down to a few things done right — knowing the purpose, picking the right fabric, keeping the design clean, choosing the correct print method, getting placement right, and always sampling before going big.
Do those things and you end up with a shirt people actually want to wear. Not just on the day they get it. Every time they open their wardrobe and see it. That is what a well-made custom t-shirt does. And that is what Yoode is built for.
Tags : custom t shirt